My First Review Edited all with DaVinci Resolve 12. Will Resolve be my go to NLE now?
I have been editing with Premiere Pro now since 5.5 and it’s been a pretty good experience for the most part. I was ready to leave Final Cut Pro 7. Rendering everything all the time and transcoding constantly along with pretty slow playback made moving a must. It served well but stopped developing and I went way to long with it and was time to move on, but at the time FCP X wasn’t ready, so I didn’t go to it. I understand it’s much better now, but to be honest the editing style is so different that I just didn’t grasp it nor really wanted to. Coming from a traditional timeline style of editing Premiere Pro was a natural fit. Avid was also an option but the pricing was to high for me and the station I work at was done with Avid. I always liked Avid too.
I’m a one man band when it comes to shooting and post. I usually edit my own projects and grade them too. When the Canon C100 came into my life I took full advantage of C-Log and that also helped me learn to be a better Colorist. I really don’t think of myself as one but I enjoy grading a lot.
I decided to give DaVinci Resolve 12 a try. I’ve given Resolve a try or two in the past but mostly to use it as a grading tool since that is what it’s primary use was before V.11 came along. In hindsight I regret not learning the workflow of exporting XML’s and grading it in Resolve. I just didn’t want to use two programs so I used Colorista II as my primary color grading solution. It served me well and still does. The new Looks is very powerful now with Colorista built in. So I decided to JUST DO IT! Dive in. No looking back. I downloaded Resolve 12 beta as soon as it was available and started taking Lynda.com tutorials for V.11 because no V.12 ones where out. It really helped. A lot has changed with Resolve 12 so that made things a little confusing but I stuck with it.
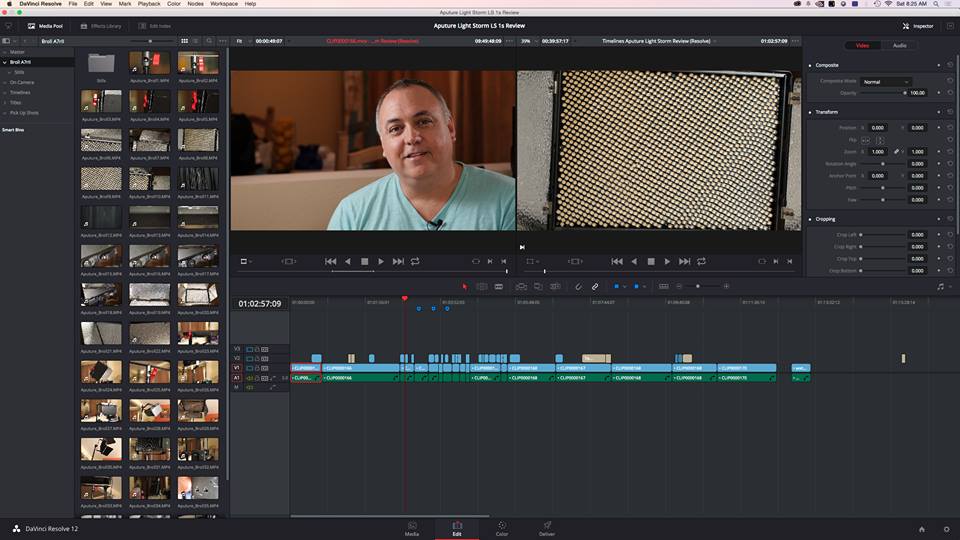
Once I got a grasp on how to edit I was moving pretty fast and even the beta version worked pretty well. For this review on the Aputure Light Storm LS 1S I did’t need a lot of fancy edits. Pretty straight forward. Lay down my on-camera and cover with b-roll of the Light Storm. Add a lower third and some text. Mix the audio. Done! Sounds easy but I kept getting into gotchas. That’s to be expected. A few of the funny ones where. “Why are my lower thirds alpha channels coming through?” Well you have to set that output on the clip by right clicking on it and selecting the alpha channel type you want. Another one. How the heck do you export a frame grab? Oh you Right click, “grab still” then go to still, Right click, export, choose jpeg when selecting where to save the still. Ah okay. These a two strange steps for what should be an easy thing to do but I’m used to another NLE and it’s just different.
Audio was easy to work with. Titles are very simple too. Oh and that Smooth cut? Yeah it works very well when the situation is right. Can you find the two Smooth Cut’s in this clip?
Pretty good right? First Smooth Cut is at :03 second is at :10.
The editing experience was very good in fact I never had one crash while editing the review. Not one! Can’t say that about Premiere Pro. I have lots of crashing issues on my Mac’s. This might be my favorite feature. Stability!
This review didn’t need a heavy grade in fact I didn’t color correct any of me on-camera because I wanted to show how clean the Light Storms are. Now I need to learn the color grading aspects better. Back to Lynda.com for more training.
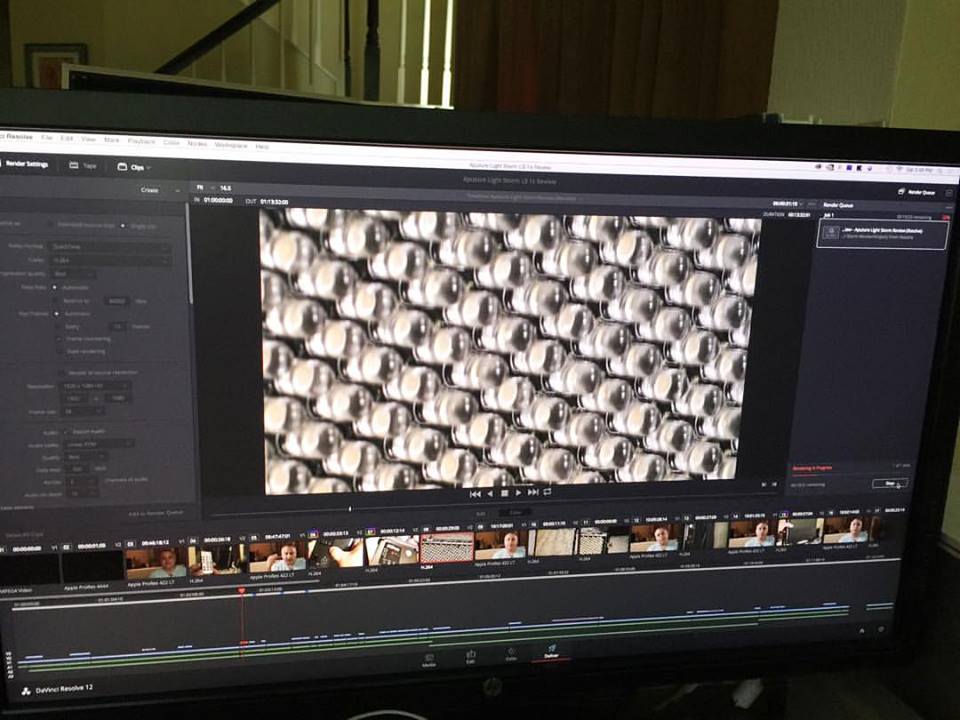
I was impressed with how fast the final render was. It was close to realtime and that was impressive. My mac was working 100% with the fans cranking at max! I didn’t have any pluggins or effects so I’m sure that helped make it faster.
So what do I not like?
Very limited effects and transitions plus with openFX having limited choices I will be limited to what I can buy and the plugins are expensive. No Red Giant yet. I hope soon more players will emerge. I need to get used to the Media Pool. I cant say I don’t like it just not comfortable yet. Audio playback can be noisy at times. some pops and crackles but doesn’t lock up. When zoomed in the on the player I cant pan around the image. It stays centered. Sometimes you need to see the corners not the center. Maybe this one is OP error 😀
I’m going to stick with DaVinci Resolve 12 as my main editor for reviews on eriknaso.com and at work try to integrate it as well. My experience with it has been very good and I think the future updates will make it even better. Blackmagic is listening. It’s different but in a good way and when it comes to color grading you just can’t ask for a better piece of software that’s also free.
Follow me on Twitter @eriknaso and check out my page on Facebook.
Thanks for coming by! Please help support my site by using the links on this page or bookmark these from my favorite retailers, B&H, Adorama, Zacuto, Amazon.com & Think Tank Photo. Using the links cost you nothing extra, but it helps offset the cost of running my blog. Thanks again for coming by eriknaso.com!
Filed in: Blackmagic Design • DaVinci Resolve • Featured Post • Post Production


Erik, to pan the image in the player while in the color tab, you need to press your mouse scroll wheel and pan. BTW, I do not have a magic mouse. To the least, this is how I managed to do it.
Erik, thanks for the review of the Aputure light. I’ve seen other reviews and am seriously considering buying one. What I haven’t seen before is the info about the light output level declining when running on batteries. Good to know.
Glad I could help.